Roadmap to Become a Web Developer in 2022
Who’s a web developer? Those websites which you scroll to are created by none other than web developers. A person who creates amazing websites for businesses and startups. A full-stack web developer looks after both the front-end and the back-end parts. The front-end deals with how the websites look when delivered to the customers while the back-end stores and processes all the data safely.
Also, to bring to your notice, web developers are highly paid professionals. Most Software Developers work as Web Developers. MNCs also hire professionals/freshers based on their interest in web development. No matter what the situation would be web developers will always be in demand and for this, you don’t have to care whether it’s WFH (Work From Home) or WFO (Work From Office). This job requires dedication, patience, and eagerness to learn every day and play with technology. From Big MNCs to startups, everyone needs web developers to see growth in their business. But before we start this journey, you all should have a clear idea of why do you want to be a web developer?
Find reasons for it! You should be eager and curious as well to dive deep into it to become a successful web developer.
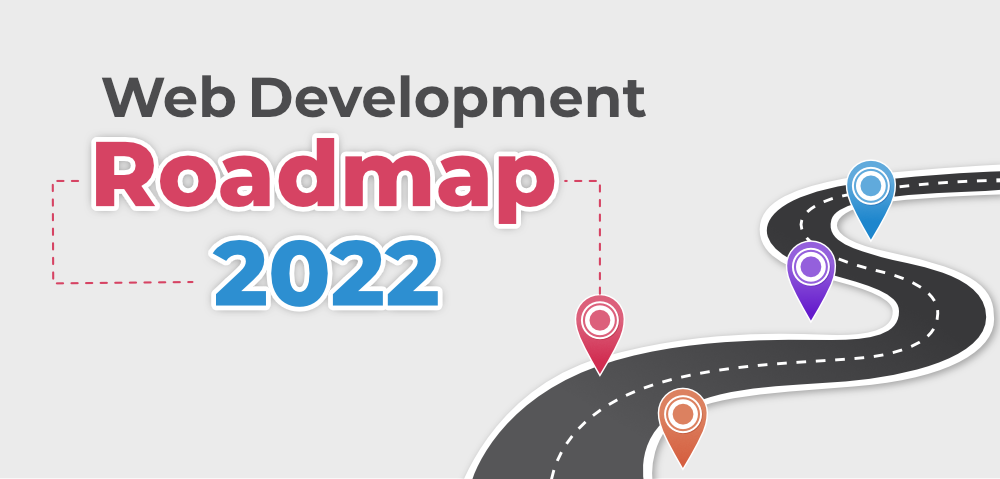
In this blog, we will discuss the Web Development Roadmap 2022. Let’s begin!! Here’s a step-by-step process:
- Choose a technology on which you want to work
- Frontend Development
- Backend Development
- Database
- Version Control System
- Build Projects
1. Choose a Technology
A full-stack development comprises front-end, back-end, and database management. Choosing a technology on which you want to work depends on individuals, requirements, and applications. Few technologies on which you can work and are trending:
A. MERN – The most popular and trending technology.
- MongoDB – A NoSQL database that deals with data.
- Express – A framework for NodeJS and handles GET, PUT, POST, DELETE functions.
- React – A JavaScript library for building User Interfaces, building single-page applications.
- NodeJS – An open-source server environment.
B. MEAN – The major difference between MERN and MEAN is MERN (written in JavaScript) works on React whereas MEAN deals with Angular (a framework written in TypeScript).
2. Frontend Development
Front-End is the UI (User Interface), it deals with the website’s overall appearance, on how interactive and dynamic it is. For mastering it, get clear with all the elements of HTML, CSS, and JavaScript.
- HTML (Hyper Text Markup Language) – Start with the basic application of HTML by creating a small website that includes all the elements. Play with tables, and forms, and try adding images and links to the website to make it more eye-catching which in return makes your work efficient.
- CSS (Cascading Style Sheets) – If you’re a person who loves creativity, you must go through CSS. Using CSS, you can add colors to your website, give borders to the headings or paragraphs, build the navigation bar, play with the icons, font, and text, and many more things like that. Make the website responsive i.e., how it looks on different screen sizes. The most popular CSS framework used is Bootstrap.
- JavaScript – This is the programming language of the web. Learn about DOM (Document Object Model), and API (Application Program Interface) properly.
- Frameworks – It is a platform for building software applications. It includes programs, code libraries, and compilers which when brought together enable the development of a project or system. These frameworks make components reusable. Examples of frameworks are – React, Angular, Vue, etc.
3. Backend Development
The code that runs on the server, has logic to send the appropriate data from the client and receive it from the server. Also, it includes the database which stores all of the data of the application. It consists of three parts: a server, an application, and a database. Here, the code written by developers transfers information from the database to the browser. Code written by back-end developers communicates information from the database to the browser.
Skills you need to have to back-end developer: programming languages, frameworks, databases, servers, and API (Application Program Interface).
- Programming Languages – Back-end developers should know at least one of the programming languages like Java, Python, and JavaScript. JavaScript would be the best choice as this can be used in both the front-end and back-end.
- Frameworks – Frameworks are generally components or functions that are implemented to improve the performance of development. It includes the library of tools and modules that builds the architecture of a website. Several popular back-end frameworks are Express, Django, Ruby on Rails, etc.
- Database – Various DBMS technology should be known such as MongoDB, MySQL, Oracle, SQL Server, etc. It handles with storage and management of data.
- Server – A system providing data, services, or programs is known as clients over a network. They share (send and receive) the data/information between client and server.
- API (Application Program Interface) – It is a set of defined rules that enables communication or acts as an intermediary between two applications. Request from the user is completed by the response from the server.
Client-Server Architecture: This architecture is designed to understand the request made and the response received. Whenever there’s a request from the client-side for data, the server responds to that request. There comes, the picture of a database which is explained in the next step, that stores the information needed to be retrieved.
4. Database
The database is a collection of data from which we can manage data (store and retrieve). There are two types of databases: relational (SQL) and non-relational (NoSQL). Some popular databases are:
- MySQL – These are relational database management system, store and manages data.
- MongoDB – It is a NoSQL database; Finds key-value DB, graph DBs
- Volt DB – It follows a relational pattern, they use memory to store data.
5. Version Control
When certain libraries are added to each application, it gets updated in a period which in turn creates a new version of it. Using Git is a very good practice if you’re working on applications. Git is an open-source platform where the entire code exists from the initial time. It is secure, flexible, easy to edit, and restores the code. It has repositories where all files including the codebase are saved and one can make changes according to the requirement. Anyone can collaborate and make changes accordingly.
A list of Version Control Systems are:
- GitHub
- GitLab
- Beanstalk
- Apache Subversion
- Mercurial
Benefits of Version Control:
- It helps you maintain code.
- You can re-use it whenever needed.
- Saves the changes made.
- Provides evidence of all changes made.
- Improves performance of the web development.
- Collaborate and contribute.
Also, you should have good knowledge of HTTP/HTTPS, Linux commands, and DSA (Data Structures and Algorithms).
6. Build Projects
When you’re all done with the theory part, do build some projects to be well-versed with full-stack development. You implement all the front-end, and back-end sides of a project along with database handling, then you get perfect in web development. As you build something, you get familiar with the technical concepts like how APIs connect the front-end to the back-end, how the database manages data, and various other steps followed during web development. Thus, cultivate a habit of building projects to become a successful web developer.
Difference between UI (User Interface) and UX (User’s Experience)
1. User Interface (UI)
It deals with how the users interact with the product/service. With a click of a button, the page should respond. The collection of framing of each element with which a user interacts with the web page is known as User Interface. It works on the overall appearance and responsiveness of the website.
Skills required as a UI designer:
- Design principles
- Style guides
- Teamwork and communication skills
All the elements should be consistent and focus on the visual experience of a website. Responsibilities of a UI designer are – creating a visualization of screens, presenting ideas and design solutions, and maintaining documentation of style guidelines.
2. User Experience (UX)
It deals with the user’s experience with the product/service. From the initial point to the endpoint, it works on the friendliness of the website. Better the architecture and research of the website better are the UX.
Skills required as a UX designer:
- Problem Solving
- Curiosity
- Understand audience mindset
It adds a connection between users and the business. Creating a wireframe (structural level design of a website) is a task for UX designers. The responsibilities of UX designers are researching, designing, innovating, and prototyping for a better user experience.
Start with the theory first then move to the practical implementation part. Web Developers will always be in demand no matter whether you work from anywhere. It is and will always be the best choice for tech-career growth. Go for it and be a fantastic web developer.
Thankyou For Reading

